
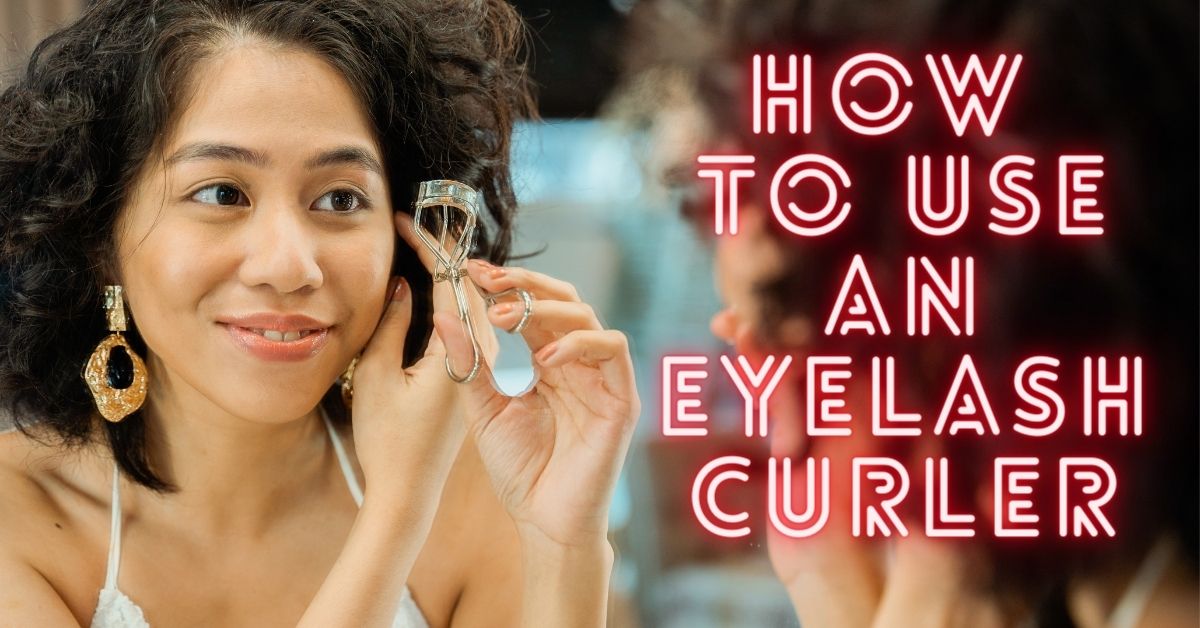
Any beauty kit would be incomplete without an eyelash curler, which acts as a push-up bra for your eyelashes. As soon as you trim your eyebrows and apply mascara after curling your eyelashes, you’ll notice the change in your eye makeup.
If you don’t know how to use an eyelash curler without breaking your lashes, then keep on reading the guide. It’s important to know how to use eyelash curlers so you don’t accidentally rip off your lashes or pinch your eyelid.
If you’ve always wanted long, luscious eyelashes, you’re in luck. Your lashes will look longer in minutes with the right tools and beauty tips. Okay, let’s learn without further delay.
Quick Navigation
How To Use An Eyelash Curler
Ready to learn how to use an eyelash curler? follow our easy step-by-step guide to get beautiful lashes in a couple of minutes.
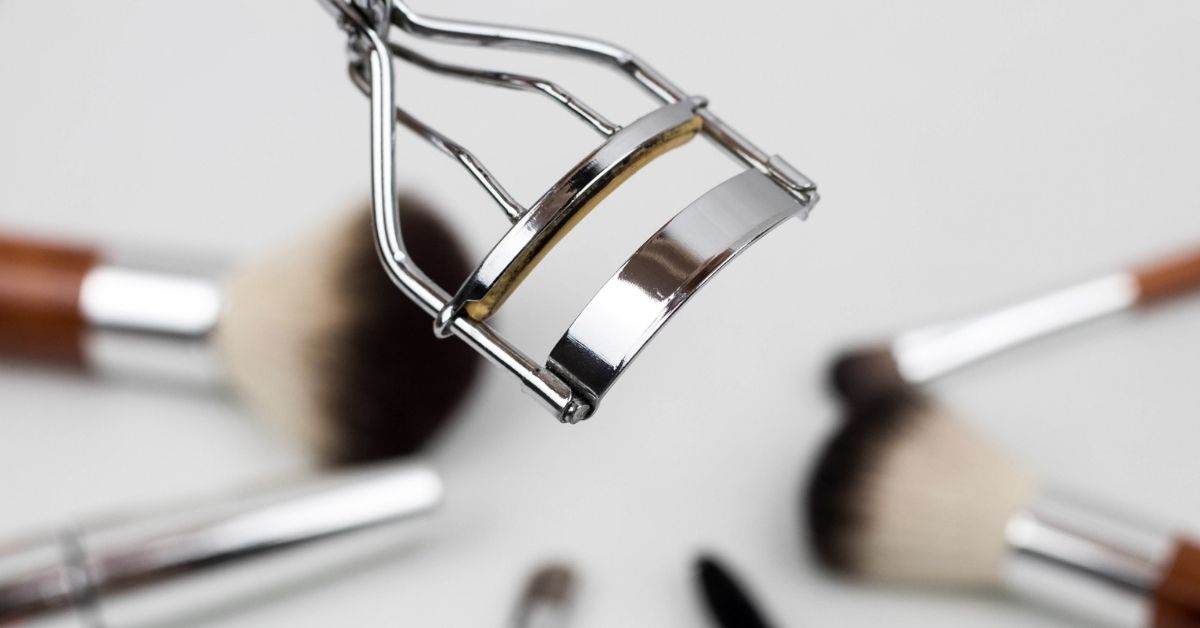
Step #1: Choose The Right Curler
Be sure you have the proper tools for your style and routine before you start. Heated eyelash curlers and traditional eyelash curlers are the two most popular types of eyelash curlers you’ll discover.
- Heated eyelash curlers: In the same way that heated hair products deliver a more intense curl that lasts longer, heated eyelash curlers deliver the same. A hairdryer may be used to warm up a metal curler before usage if you want to add some heat. Make sure that the metal instrument should not be excessively hot when placed against the eye.
- Traditional eyelash curlers: If you’re searching for an easier step to add to your eye makeup regimen – choose a non-heated curler that’s curved for your natural eye shape. Make sure that the pad is big enough to press on your eyelashes.
Related Article: Learn To Apply Eyeshadow For Beginners
Step #2: Clean Your Eyelashes
This step is important while you are learning how to use an eyelash curler correctly. Before using an eyelash curler, make sure your lashes are clean and dry.
If you have mascara on your lashes, this might cause them to break. Even lashes damage or eye irritation can happen from wearing mascara for too long.
If you have applied waterproof mascara on your eyes, then check our guide on how to remove waterproof mascara to get clean and dry lashes.
Step #3: Position Your Head
Each person’s eye shape is unique to them. Looking at yourself in a mirror and positioning your head appropriately is the best way to get the desired outcome.
You will be able to put the eyelash curler on without accidentally hurting your eyelid or damaging it. Keep your chin up and lean your head slightly back for the optimum curling angle.
Step #4: Curl Your Lashes
Your eyelash curler is now ready to be used.
- Start with your eyes open. The curler should be opened while you have your eyes open.
- You can get as near as possible to the root of your lashes without pinching your eyelids.
- Close the clamp and hold on to your eyelash for a few seconds and release.
- Walk the curler out for a perfect curl, once from the tips of your lashes and once from the middle.
Simple, right?
Step #5: Finish With Mascara
In learning how to use an eyelash curler the last step is to finish the look by applying mascara. You must never apply mascara before curling your lashes.
This must be done at the end. The sticky nature of the mascara might cause your lashes to fall out if you use it before curling them.
Common Mistakes While Using Eyelash Curler
Once you get over the concern of hitting your eyelids rather than your lashes, the technique is quite easy. Now that you know how to use an eyelash curler, let’s learn some common mistakes that you should avoid while using an eyelash curler.
1. Starting With Mascara
It’s the quickest way to damage or pull out your lashes if you apply mascara before curling them up. Your lashes will stick together, and the mascara will stick to the curler. You should never curl your lashes after applying mascara.
Related Article: Tips On How To Lighten Eyebrows At Home
2. Curling Once
A second curl is generally needed if you’re seeing lashes that stick straight up rather than curving. It is also a mistake to curl the tips alone and not the entire eyelashes. It’s necessary to grab the entire lash, from end to end.
3. Not Cleaning Your Tool
Just like you clean your hair brush and makeup brushes, eyelash curlers need to be cleaned. Make sure to include your eyelash curler on your list of makeup equipment that needs cleaning. Wash it with soap and water.
4. Applying Too Much Force
Slow and steady is the key to success when it comes to achieving success. Gently squeeze the curler rather than pulling or crimping your lashes. A quality lash curler doesn’t require a lot of power. Squeezing too hard might break or rip off lashes.
5. Using The Same Curler Forever
Lashes curlers aren’t the kind of thing you can keep forever. It’s normal to lose the ability to curl your eyelashes with time as the pads that enable your lashes to wear out.
In some cases, you may change the pad on your eyelash curler so that you can retain it for a long time, but in other cases, you’ll need to buy a new curler.
Takeaway
There was a time when using an eyelash curler seems like a bear trap, but those days are gone. Now you can make your eyelashes more beautiful without harming them. And the good news is now you know how to use an eyelash curler without harming your eyelids.
Your lashes will seem longer in 10 seconds or less with an eyelash curler added to your eye makeup regimen. You may apply it every day. It is more difficult to notice the real length of lashes when they are straight. Curling eyelashes reveal their real length.