
Eyeshadow is among the most exciting ways of transforming your looks each day. On Instagram, you may see so many wonderful eye makeup tutorials every, day but you don’t know how to start whenever you hold the brush in your hand.
Just Keep on scrolling to learn how to apply eyeshadow like a pro with a proper guide. It may not be that simple at first, but you can surely reach that point with time and practice.
Whether you want to create a natural look without any difficulty or maintain your smoky eye. Applying your eyeshadow expertly in different tones will dramatically change your overall look. So, let’s learn the process of applying eyeshadow.
Quick Navigation
How To Apply Eyeshadow
Brushes Required For Applying Eyeshadow
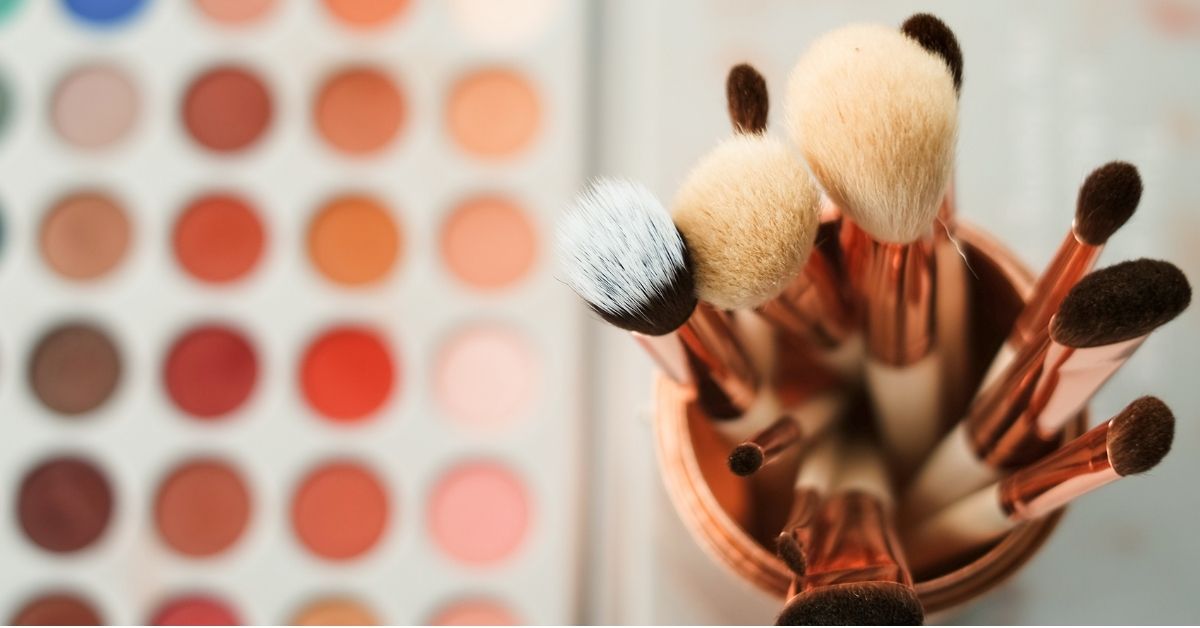
While you can do almost any make-up with your fingertips, specialized make-up brushes are the finest way to flawlessly combine colors and define your features. No brush performs all you need to do, therefore you must ensure that you’re using the correct brush for certain jobs.
- A wide-domed fluffy brush.
- A smaller tapered blending brush.
- An angled blending brush.
- A stiffer-bristled angled eyeliner brush.
Related Article: Remove Your Waterproof Mascara With Easy Methods
Process Of Applying Eyeshadow
Step #1: Priming Your Eyes
First step in learning how to apply eyeshadow is to apply primer. Prepare your lids for make-up application by placing an eye primer on your lids before reaching the eye shadows. The primer maintains your eye shadow if you have greasy lids or preparing a summer makeup look.
After a sightseeing day, you will discover your shadow does not budge even at the humid temperatures. It’s straightforward to apply a primer. Just use your fingertips or makeup brush to put on a little primer on your lids.
Step #2: Build Your Base
Take your preferred eye shadow palette and sweep your favorite base shadow using your eyeshadow brush. You may carry this color to your brow if preparing for a more dramatic smoky eye, depending on the appearance you are going for, or you can stop at the crease of your eye for an everyday simple look.
Pro Tip: When your eyes are open, put the color into the crease of your eye and move down to the lash line. In this way, You’re never going to overshoot your crease or end up with messy lines.
Step #3: Apply Darker Color Into Your Crease
Now we will define our crease to add more definition to your eye makeup. This also enhances the total look of our eyes. By using a contrasting color, which is darker than what you put on your lid, you may define your crease.
- Take your fluffy brush and dip it in a medium eyeshadow shade for a natural look.
- Apply and work along your eyelids till your brow bone with your eyes closed.
- You may apply the shade with your eyes open to determine where it’ll be most visible if you have deep-set or hooded eyelids.
- In order to further define eye shape, dip your brush into the dark shade and use it to define your crease’s outside corner, forming the V-form from the lash line to the outside crease.
Step #4: Blend & Define
Diffuse the shades on your crease and outside V until they blend perfectly by using a blending brush. Don’t worry about over-blending medium or dark pigment. Use the crease brush again to add shade and blend.
You may go and define your lash line when your shadows are smoothed to perfection. Go with a liquid or pencil eyeliner if you want. You may stop or build a winged liner look, whatever you like. To set your eyeliner, dip your brush into the medium or dark eyeliner eyeshadow and use it.
Step #5: Add Highlighter
You may add the lightest color in your palette to blend it right on top of your lids if you feel your eyes still need additional color. Try to maintain the color off the brow bone and stay with lighter hues, because dark hues are not the greatest option.
Make sure no harsh lines are found anywhere, the colors should blend smoothly. Use your finger in the inner corner of your eye to put the lightest color. Simply press your pinkie finger into your eye’s inner corner. This way you can make your eyes look more wake and wider.
Step #6: Finishing
Last but important step in learning how to apply eyeshadow is to finish your eye makeup look. Once you’ve done, finish the look with your favorite mascara or apply magnetic lashes to enhance your look.
You mastered the skill of how to apply eyeshadow like a pro, just try a different type of eye makeup.
Different Type of Eyeshadow
As now you know how to apply eyeshadow, let’s have a look on types of eyeshadows. Many varieties of eye shadows are available in the market, some simpler to apply others are not. Here are some of the most popular eyeshadow types:
1. Powder Eyeshadow
This is the most preferred and less prone to crease or smudge all day long. Pressed powder eyeshadow is simple to work with and blends quite well, although the pigment is not as intense as “loose powder”.
Related Article: Hack To Take Off Eyelash Extensions At Home
2. Cream Eyeshadow
This may be utilized to produce a subtle and elegant appearance in the daytime. Cream eyeshadows are most suitable for blending the substance evenly with your fingertips as their warmth helps. Don’t use Cream eyeshadows if you have oily eyelids, but it is great for dry eyelids.
3. Eyeshadow Sticks
With creamy formula, they are wonderful if you travel often. You may put it on your eyelid directly from the bullet and blend it with your fingertips. If you have dry skin, they are a wonderful alternative to powder shadow, But if you’re prone to oily eyelids, then don’t use them.
4. Glitter
Whether delicate or intense, glitter gives your desired look a little more. Powder or cream eyeshadows have glitter or you can purchase a loose glitter that is identical to craft glitter but created specifically to be worn on your lids. Apply the petrol jelly on your eyelids, it will work like glue before applying glitter.
Things To Remember While Applying Eyeshadow

- To prevent the makeup from smudging or transferring, use a gel or waterproof eyeliner.
- Complete the eye makeup before you go on to beautify your face. Otherwise, it may spoil your face makeup.
- Use a shadow and mascara shield under your eye or simply place a tape on the face below the lower lash line to prevent your face from any fallout.
- Creamy eyeshadows are more likely to develop creases and it is hard to deal with loose powdered ones. For the finest results, select the compact powder eyeshadows.
- When your eyes are hooded, use makeup on open eyes instead of closed, so that the colors of the crease are visible to you.
- Ensure your brushes are cleaned throughout transitions.
- Turn your head up and look in the mirror for a clear vision when applying.
Takeaway
Simplicity is the key to those who just start with eye make-up. Start with a primer, ensuring that your colors pop and remain on the lids all day long. Now you know how to apply eyeshadow like a pro, just keep on practicing.