
The easiest technique of glamorizing your look is to create voluminous, bright, curly hair. However, if you haven’t been gifted with naturally curly hair, it may be a tricky game to attempt to bring curls to life.
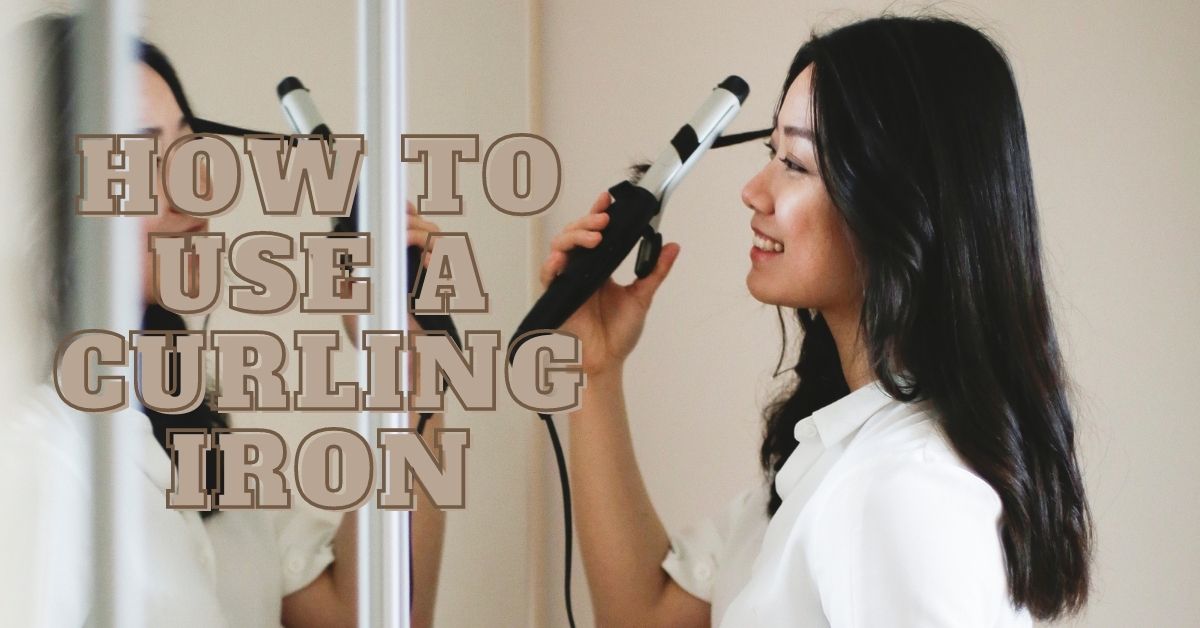
If you are wondering how to use a curling iron to curl your hair then keep on reading. Curling your hair without hurting is only one-half of your achievement. For at least 8-10 hours, your curl should remain bouncing and intact, so you need the right technique.
Beautiful curls offer movement and texture to your hair and help to make your braids look prettier and your ponytail more beautiful. So let’s learn how to curl your hair with a curling iron in the right way.
Earlier we have posted 8 easy ways to curl your hair with step by step guide, you can also check that guide.
Quick Navigation
8 Step Guide On How To Use A Curling Iron
Step #1: Select Right Tool
Take a few things into account before you buy your choice of curling tool.
- Clamp or wand: A curling iron with a clamp has a clamp that helps to hold your hair as you curl. There is no clamp in a wand curling iron. Rather you wrap your hair and hold it around the barrel, while it forms a curl.
- Barrel size: You will have to pick a barrel sizing of 3⁄4-inch or smaller if you want to make tightly wound coils. If your want is bigger, bouncy beach waves, take a curling iron with one or more inches of barrel size.
Related Article: 6 Step Guide On How To Use A Diffuser
Step #2: Wash Your Hair
Always use a light shampoo and conditioner to wash your hair to prevent hair from weighing down. Do not apply the conditioner to the roots, just apply from the middle shaft to the end of your hairs.
Step #3: Blow-Dry Your Hair
In learning how to use a curling iron this is the important step to follow. When your hair is approximately halfway air-dried, blow-dry the rest of your hair with a boar bristle brush until it’s fully dry.
Even if you don’t want to completely remove your hair’s natural texture, brushing it out will benefit you well in the long term. Curling irons work best on straight hair.
Step #4: Choose The Right Temperature For Your Hair Type
When using an iron, you might be tempted to turn the heat up to the highest possible setting – It’ll hold better, won’t it? If your hair is fine, color-treated, or dry, a hotter setting isn’t always the best choice.
A higher temperature setting is appropriate for thicker hair, just as with all other heat styling products. In general, higher temperatures are better for styling thicker hair, whereas lower temps are better for styling fine or thin hair.
Tip: Always use a heat protectant with all hair types.
Step #5: Section Your Hair
If you have long hair, you’ll have a lot more curls to work with. Section your hair and use a duckbill or a double-prong hair clip to fasten each section of hair that you aren’t using.
Even though many of these clips will work, plastic versions tend to leave less of a kink in the hair, which might make it more difficult to curl the hair over.
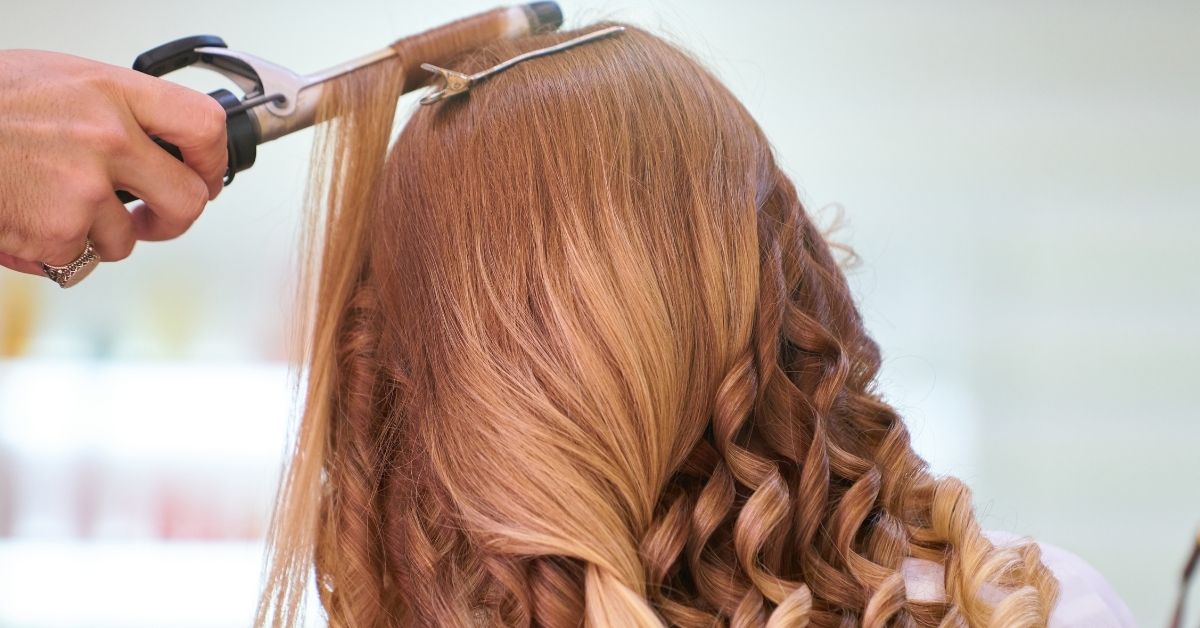
Step #6: Curl Your Hair
Clamp the ends and curl the hair until the whole barrel is covered with flat hair. Your hair will overheat in some parts and not at all in others if you layer it over the barrel. This can lead to “hot spots” that can damage your strands or even cause them to singe.
Hold each part of hair for 10 to 15 seconds. And repeat the process for each section of the hair.
Step #7: Examine Your Curls
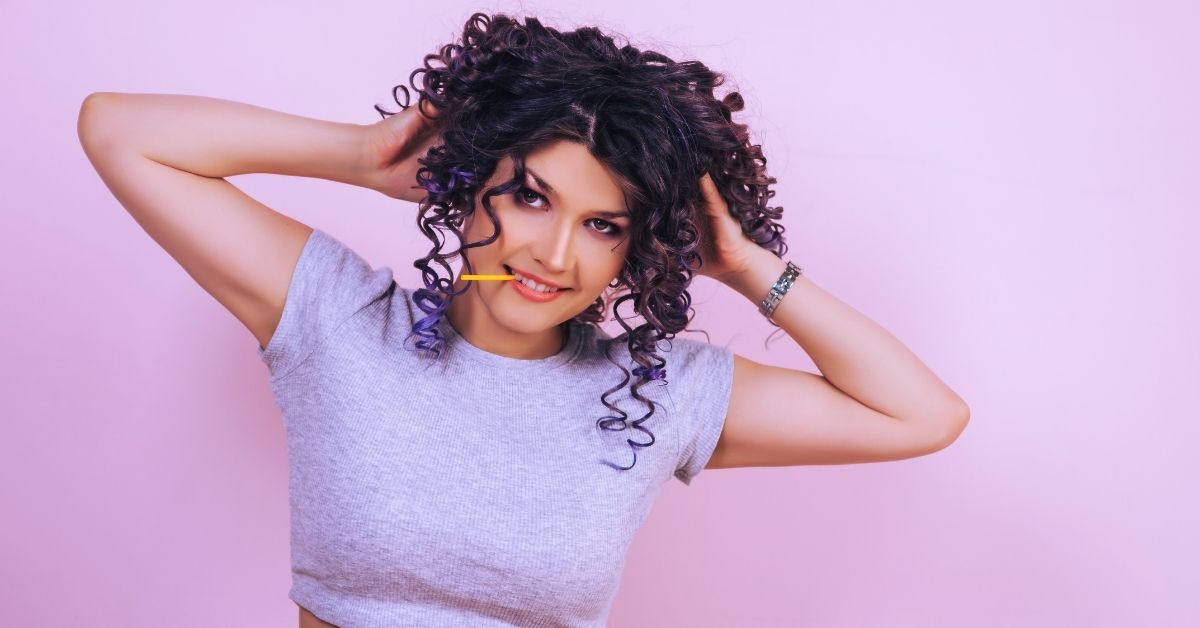
It’s time to take a look in the mirror to see if you like the look or if you want to loosen it up a bit. Try flipping your head over just a couple of times to shake your hair out if you wish to go with the latter option.
Your fingers may contain oils that might make your hair seem greasy or flatten the spiral entirely if you finger-comb them.
Step #8: Use Hairspray
The last step in learning how to use a curling iron is to use hairspray. In order to maintain your look, hairspray needs to be a priority. After your hair is curled, spritz it with hairspray to keep it soft and bouncy. A little medium-hold hairspray can help your curls stay in place, so don’t be afraid to use it.
Related Article: Cut Curly Hair At Home In 3 Easy Step
Things You Should Remember While Using Curling Iron
Learning how to use a curling iron is easy only if you follow the right steps. There are additional things you should bear in mind while using a curling iron to curl your hair:
- Heat Setting: Keep in mind that more heat does not necessarily mean better curls. Try to keep the heat setting as minimum as possible or just keep the heat setting according to your hair type:
- For fine or chemically treated hairs – Use less than 300˚ F.
- For Normal hair – Use up to 380 ˚ F.
- For Thick and coarse hair – Use up to 450˚ F.
- Curl Away From Face: In particular, you should take care of the hair that surrounds your face. Try to curl your hair away from your face and towards your hairline.
- Overheating: Overheating any portion of your hair can lead to damage or breakage.
- Last Longer Curls: If you want curls that last longer, you must let them cool in their form. Don’t swipe your finger throughout your curled hair before it’s fully cooled..
- Usage: There’s no doubt that heat destroys your hair and dries them out. Use hot tools once or twice a week at the most.
- Heat Protectant : Always use a heat protectant as it can function as a barrier between your heat tools and your hair, and will protect your hair from damage.
- Curling Directions: Curling your hair in different directions will provide different results. If you curl your hair in only one way, your hair will merge into one big mass of frizz.
Takeaway
Learning how to use a curling iron is a must-have skill. A single tool can produce so many different styles, and you’ll be the go-to stylist for all of your family functions. Unsafe usage of curling irons can create a safety risk, so take some time out of your busy schedule to learn this lifelong art.