
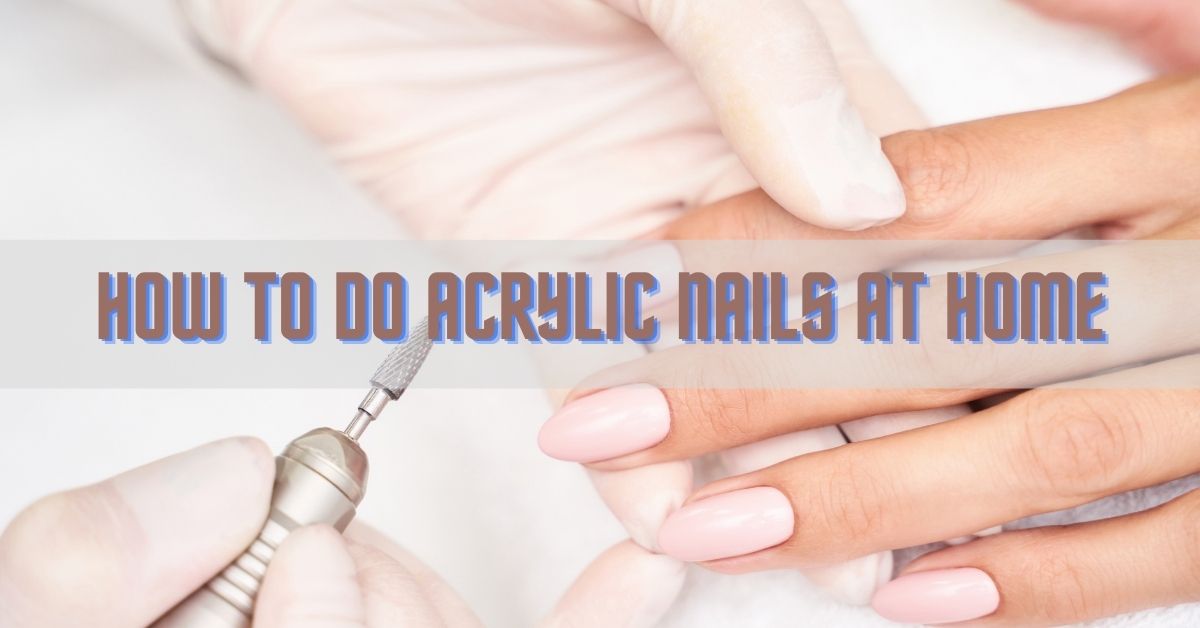
Love having acrylic nails but hate spending so much money on them? Don’t Worry Miss Glam Up prepared a guide in which you will learn how to do acrylic nails at home step by step.
Acrylic nails have long been a highly popular beauty treatment, and the obsession is quite bigger. Most individuals want how to do acrylic nails at home, with fashion trends and ideas always popping up.
You don’t just save cash by doing acrylic nails at home but it’s a fantastic hobby to learn. You will discover everything below about acrylic nails if you have decided to enter the acrylic nail fray.
Quick Navigation
Things Required To Do Acrylic Nails Yourself
The easiest approach is to buy a DIY acrylic nail kit if it’s your first time. A kit should have thorough instructions so you won’t be left in the dark. Be sure to look for tips made with ethyl methacrylate (EMA) when buying a nail kit.
It is a safer choice than hazardous ethyl methacrylate (MMA) which is not good for your nails, as well as for the environment.
You can buy the particular products you require based on your desire if you are a little bit more experienced. Buy these for your own DIY acrylic professional kit:
- Clippers.
- Semi-coarse nail file and buffer.
- Nail dehydrator.
- Acrylic brush.
- Mixing bowl.
- Acrylic nail primer.
- Acrylic liquid.
- Acrylic powder.
- Acrylic nail tips and glue.
Read: How To Remove SNS Nails at Home
Beginners Guide on How To Do Acrylic Nails
1. Prep Your nails
You’ll have to master the nail Prep before you start.
- Begin with removing nail polish and ensure that the remaining gels or acrylics are properly removed.
- If you got one, push your cuticles gently back (but don’t cut them) by using a cuticle pusher. Be careful that they do not overdo or bleed; it is a stupid idea to place acrylic on damaged cuticles or nails.
- Then trim your nails and buffer them with a buffer to eliminate extra shine, by the sweeping left and right on each nail.
2. Select the tip size and use the acrylics
A range of acrylic tip sizes is included in your DIY kit so you have to take time to choose the perfect one for each nail.
- Use a nail file and shape it up to fit perfectly if you can’t find the perfect fit.
- Use a dot of nail glue once you have 10 tips and place it one by one. Do not rush through this procedure and ensure that the tips are straight and even.
- Almost one-third of the way down your nail should sit on the bottom of the acrylic tip.
- Apply 10 seconds of pressure to secure each nail.
3. Shape it
Smooth the acrylics in your preferred form and length — round, square, or coffin using a nail clipper and a file. You may achieve several shapes and lengths with experience and pick the one that is best suitable for your hands.
Use a buffer to smooth it out if you spot a noticeable line in which the tip meets your real nail.
4. Apply the Dehydrating Primer
- After your tips are ready and shaped, put the acrylic liquid into the blending bowl and arrange the ingredients and powders to reach them easily.
- There is a strong scent of acrylic liquid, so ensure you are in a ventilated environment – put a fan inside or open a window.
- Then apply the dehydrating nail primer to eliminate any moisture leftover from the nails so that the acrylic mixture sticks to the nail.
- Wait until the primer to dry and then rub the nails with a lint-free pad for the next stage.
5. Nail Coating with the acrylic mixture
- Put the acrylic liquid into your brush, press the bowl side to remove excess, and then dip the brush further into acrylic powder.
- You may need to do a little practice before achieving the correct liquid/powder ratio. The mix should be easy to spread but not too moist.
- Begin to apply it slightly above your cuticles and go toward the end.
- Clean the brush after each application on a paper towel.
6. Let It Dry
Be aware that acrylic is sensitive to temperature. The warmer your room, the sooner it sets. Choose a cooler environment as you begin learning how to do acrylic nails so that you have enough time to apply the mixture before it dries.
It should take around 10 minutes to dry. The quickest method to check whether it is dry is to tap on your nails carefully – you’re all set if it produces a clicking sound.
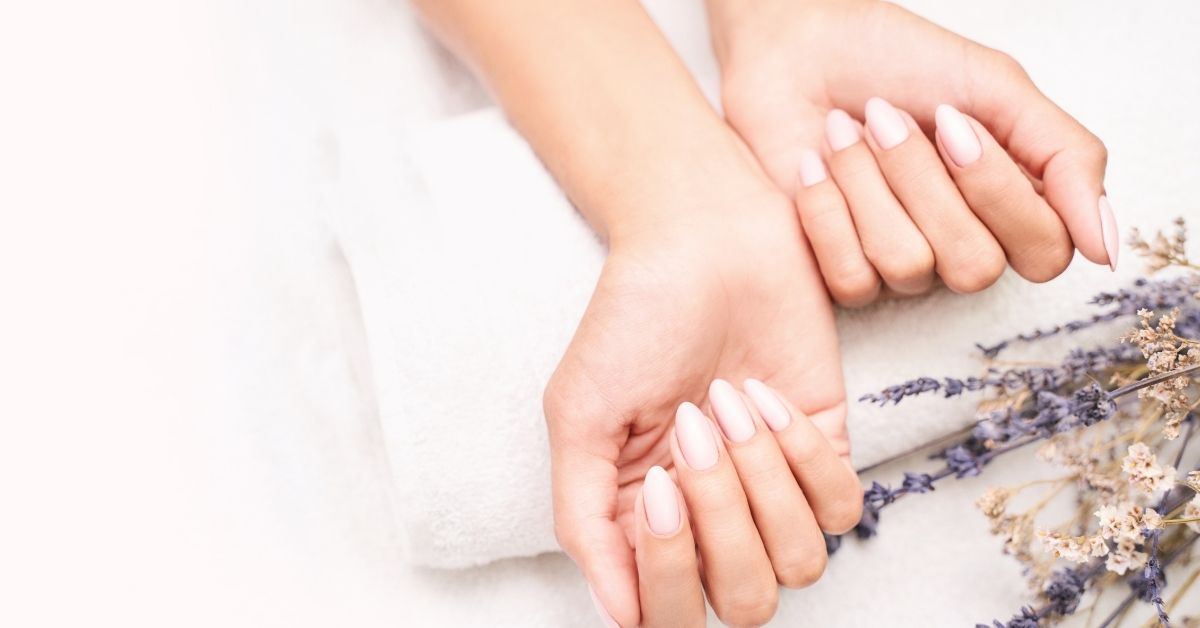
7. Shape Finish
You simply need a little trimming as your nails are ready and shaped up. Go along the edges and the tips to the perfect Instagram-worthy shape with a semi-coarse nail file. With the buffer, you can also quickly go across the nails to produce a smooth surface.
8. Paint Your nails
By adding an acrylic powder color of your choice, you may acquire the required color after step 5, or you may paint your nails in the final step, using a clear or colored nail. Or You can make your nail polish at home to get your perfect shade.
Make sure that your professional, sleek finish covers the whole surface of your nail and allows it to dry completely.
Takeaway
Acrylic Nails is currently greater than ever and it may be quite expensive. The above guide is about how to do acrylic nails; it not only saves a lot of money but also gives you the freedom to change the way and whenever you want to.