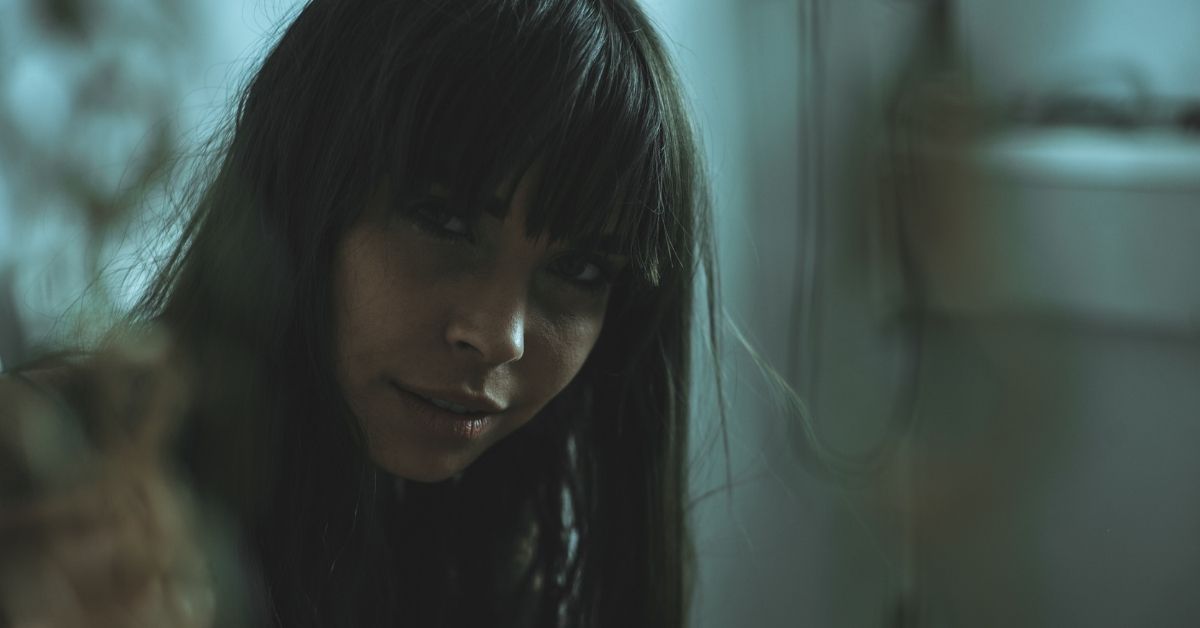
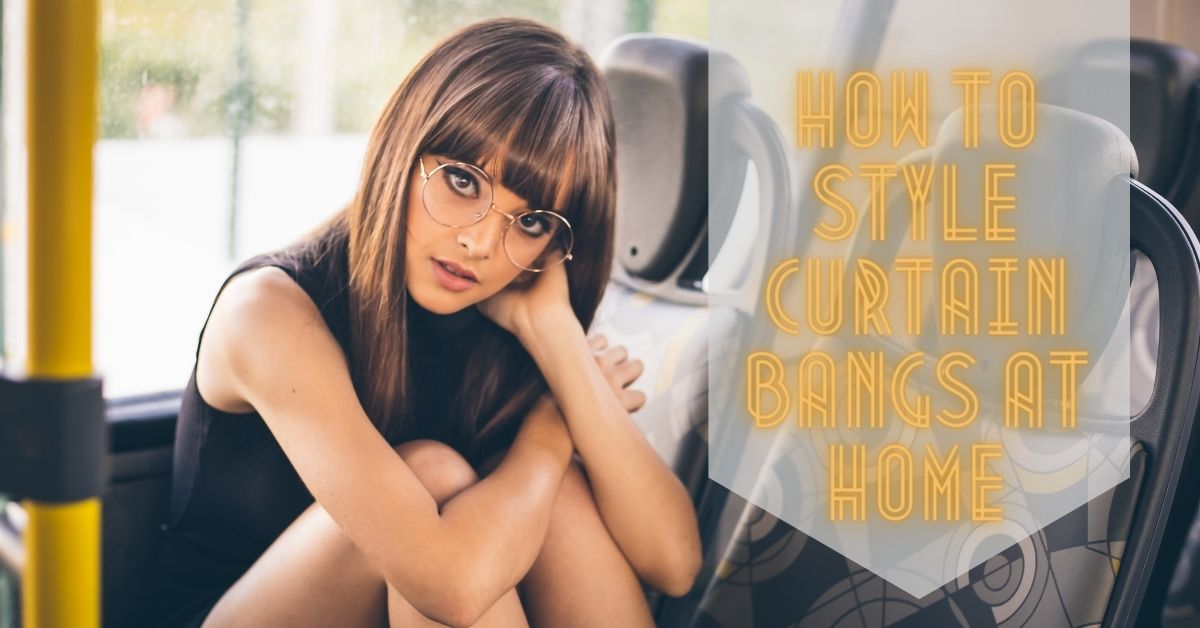
The most anticipated trend of 2021 is the curtain bangs. They not only frame the face, enhance the eyes and the cheekbones, but also quite easy to maintain.
Curtain bangs are the current it-look, and though they aren’t new, they make a major reappearance in 2021 – that’s we are here to tell you how to style curtain bangs to rock the trend.
So, to avoid a whole awful experience, we’ve got together everything you need to know about curtain bangs, including how to style curtain bangs.
Quick Navigation
What are curtain bangs?

The Curtain bangs used to be a fashionable hairstyle of the 1970s where the fringe (or bangs) is styled with a parting down the middle, framing your face on each side. Similar to a curtain does with a window.
Usually, they are on the longer side and have wispy soft edges that give them a laid-back feel. The good news is that curtain bangs work well with straight, wavy, curly types of hair.
Moreover, they are quite versatile and may complement a number of hairstyles, such as buns, up-dos, ponytails, and more.
How To Style Curtain Bangs With Different Hairstyle

1. Natural Curtain Bangs and Hair Down
It’s easy to style curtain bangs. Just wash your hair and dry it, and parting it down the middle. You might use a styling product that gives a natural look like a lightweight mousse.
- Use your blow-dryer to dry your bangs on each side if your regular part is not present in the center.
- In addition, while trying harder, you might smooth your fringe down with flat irons.
- Give your hair a gentle tousle, and you are set to go and look stylish.
2. Curtain Bangs And Ponytail
Make your curtain bangs a charming but sensual look with the perky ponytail. This is a wonderful way to utilize a dry shampoo for the addition of texture on day two or three.
- This may be achieved by straightening your hair or first curling – either work.
- Rake your hair back with your fingers into a high pony and secure it with a knot.
- Separate the bangs and brush them out, dividing them towards the center and smooth them down with a flat iron if you need to.
- Gently loosen hair portions from the hair tie.
- You may loop a hairpin through the top of your elastic and tuck it down at the base of the ponytail to pull it up.
- Alternatively, give volume to the pony mid-section by securing a little butterfly, close to the elastic.
3. Straight Fringe And Side Buns
Back to the ’90s, with a straight fringe and side buns. Also known as space buns, this cute hairdo is inspired by the formidable Princess Leia.
- Let your flat iron start breaking up to straighten your hair.
- Divide your hair into two, from your forehead to your neck.
- Take the two sides to high pigtails and secure them with a hair tie.
- Twist the hair and wrap it on each side around a tie in the hair to make the buns and put the hairpins in place.
- Feel free by taking out a few strands to make this seem more casual.
- Finally, go through the bangs again if you need to, to make it smooth.
Related Article: To Lighten Hair Without Bleach At Home
4. Face-Framing Fringe and Ponytail
Tough but fashionable, a face-framing fringe with a ponytail is a stunning everyday look. To obtain the greatest results, talk about what form and length of the fringe are ideal for your face. It works best with textured hair and loose waves to style this look.
- Try curling your hair to produce a less structured wave with the flat iron instead of a wand.
- Then add a texture with a spray of sea salt or dry shampoo.
- Wrap the hair above the nape of your neck in a low ponytail.
- Make your look more relaxed by pulling out a few sections of the ponytail.
- If you desire more volume, gently back-comb the middle portion of the ponytail.
- Finish off with a little piece of hair wrapped around the hair tie to hide it.
5. Bangs And Updo
This look is inspired by elegance, a blunt fringe, and a stunning updo. A beehive is a fantastic hairdo for an evening out recalling the swinging ’60s.
- Separate and clip your fringe in the meantime.
- Then brush your hair as high as possible, like you’re putting it in a ponytail.
- Instead, you should take an elastic bun near the end of your hair and make a looped bun.
- Then roll it down till you reach your scalp.
- Pin in the bun and use more pins to smooth out the sides.
- To generate extra volume use the handle of a sectioning comb to gently separate sections.
- Unclip your fringe and use a round brush with a hairdryer and the directional attachment to give it the right shape
- Spritz it finally with hairspray, to maintain everything in place.
6. Textured Fringe
Another casual, simplistic style is a textured fringe. Ask your designer to create your fringe textured and somewhat choppy at the ends, possibly with a razor instead of a scissor.
- Use your fingers to massage a texturing product, like sea salt spray or dry shampoo.
- Twist the ends of little portions to make them more piecey.
- Pair this fringe with a textured wave for a casual chic weekend.
7. Soft Blow Out Bangs
Who does not love to be gorgeous at the hair salon with a blowout? With a DIY blowout, you feel almost the same.
- Wash and dry your hair with a towel and add a protective product for heat.
- Then divide your hair from top to bottom into four layers.
- Take a hairdryer with directional attachment and a wide round vented brush.
- Start from the bottom and brush the hair from underneath.
- Go through the bristles with the dryer on your hair.
- The hairdryer must be constantly aimed down as this smooths the cuticle.
- Finally, brush your bangs underneath, then on top of your hair, to dry up without being too bulky.
- Alternatively, you may only tug it side by side with fingers, as you target the dryer down on that section.
8. Bangs and Beach Waves
A longer and little fringe with soft beach waves work beautifully. Create this style with your wand or flat irons to achieve loose curls.
- Brush them out, give them a little spray of sea salt, and tousle your locks with fingers.
- Simply play with hair distribution when it comes to arranging your bangs.
- You may use some hairspray that is sprayed just on your fingers and then worked for a little more grip through the ends.
- Once you finish, it’s as if you simply wandered off a white sandy beach on an island in the South Pacific.
9. Faux Fringe Bun
The faux fringe is the best hairstyle to adopt if you’re looking for a haircut or want to make your day seem different. This style generates a faux fringe using your hair’s ends. As such, this procedure can be done with short hair.
- Start by tying hair up in a high ponytail to obtain that look.
- Next, twist your ponytail out into a bun, complete the twist on the front of your ponytail, leaving enough of the ends of your hair to make a fringe.
- Secure the bun with a hair tie around the base.
- Spread your ponytail ends across your forehead and create the fringe and iron it, if necessary.
- Secure it with a headband, bandana, or scarf.
- Finally, readjust the mess of your bun and spritz your hairspray quickly to make it all stay.
Basics On How To Style Curtain Bangs

I have learned important lessons in my struggle with curtain bangs, which I recommend everyone to read before going on the same emotional roller coaster. If you want to find out how to style curtain bangs at home, you need to know the below things.
1. Dry Your Bangs
We advise that you should blow-dry your bangs ahead of the rest of your hair if you are thinking to start with wet hair. People often start in the back when they blow-dry their hair by the time they get to the front, their fringe is already dried and frizzy.
To better direct airflow for precise style use a blow dryer’s concentration attachment. I move the bangs back and forth as they dry to make the hair loose and flowy parting.
Related Article: Detangle Hair Knots Without Harming Them
2. Curl Under
When the curtain bangs are styled with a round brush, always wrap and roll the hair down towards the floor, with hair clinging to the top of the brush.
It’s tempting to keep them out of your face by brushing them upwards, but that will make them feel like flippy Farrah Fawcett. Blow them down to the bottom for a beautiful French girl moment from the 1970s.”
It also helps to keep Elbows in this direction towards the chest when blowing drying hair. Once the hair is dry, you can push your hair back for a nice curtain swoop.
3. Set The Shape
- After drying, pinch the triangular area of hair (about two finger widths) and pin it onto your hairline with creaseless clips and make the right form for the bang “C.”
- Next, form a swooping “C” shape with the sectioned hair and clip the tips.
- After a few minutes’ hairs have set, release the clips for a defined shape that lasts one of the messy nights of Cassie’s.
- Try securing bangs with the velcro roller while styling the rest of your hair if you do not have creaseless clips handy. This not only keeps them out of the way but also lifts and bounces the hair that will last throughout the day.
4. Freshen up
To keep your fringe’s freshness between and during the day, avoid touching it at any cost, a dry shampoo or a lightweight, oil-absorbing styling product will be good for you to spritz as required to freshen.

