The ombre hair trend is a hot one. It’s a great way to get the beautiful ombré effect without having to go to the salon.
The only problem is that it can be difficult to figure out how to ombre hair correctly. Luckily for you, we have the solution.
You’ve seen celebrities, models, and other women rocking an ombre hairstyle, and you’ve probably thought to yourself, “I want to try it!”.
Have you heard of ombre hair? If you haven’t, you’re in the right place. It’s a great way to add some color to your hair without going too harsh. Okay, let’s start playing with highlighted hair color.
Quick Navigation
What Is Ombré Hair?
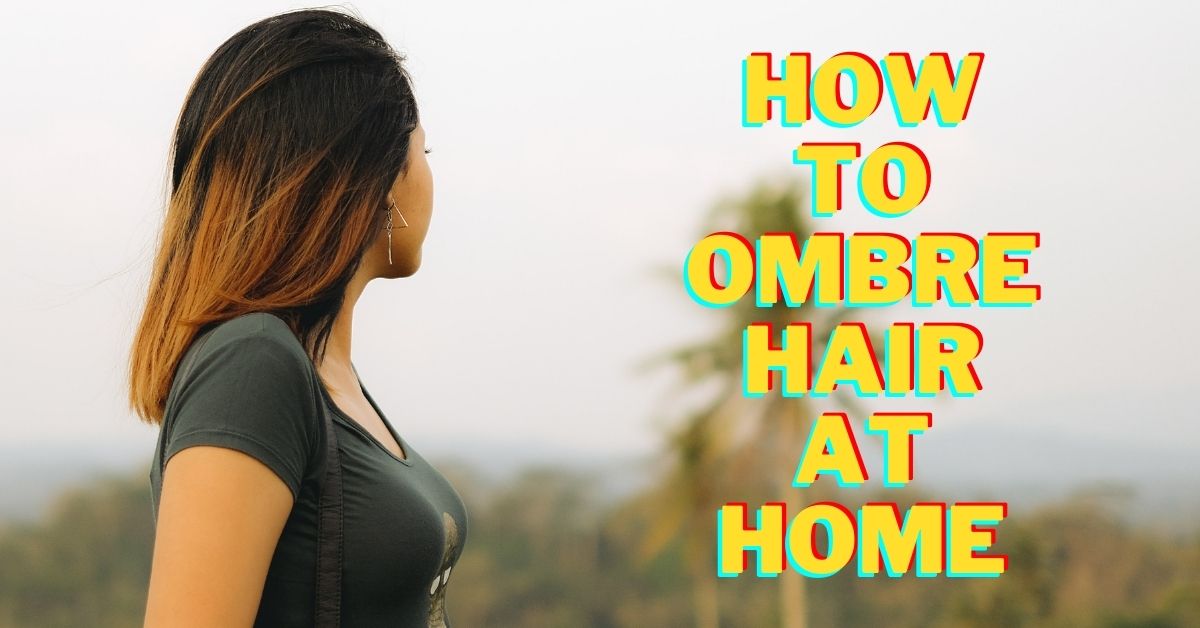
Ombré hair is a gradual transition from dark to light or light to dark. The word “Ombré” is derived from the French word which means shade or shading. Ombré hair color is typically darker at the roots, with the mid-shaft becoming lighter toward the ends. Ideal for those who want a low-maintenance style.
Related Article: Tone Hair At Home With Natural Ways
How To Ombre Hair : 2 Methods
Ready to rock? If you want to know how to ombre hair at home, we will tell you 2 methods. One method uses bleach, while the other does not.
Method How to Do Ombre Hair with Bleach

Step #1: Choose Your Color
First, you’ll need to decide what color you’d like your hair to be. A few shades lighter than your base color can be used in ombre to create a subtle change. A brunette can also attempt blonde or a bold pink shade. The next step is to determine where you want the color to start.
Step #2: Prepare
As the name suggests, this is the portion that distinguishes ombre from balayage. In comparison to balayage, which is hand-painted to look like the sun kissing your hair, the ombre is created by hand-painting and foiling.
- The foil technique retains heat, allowing the color to be processed more quickly and with less mess than other methods.
- Grab your kitchen’s aluminum foil.
- Measure the length from the point where you want it to begin. Add 4-6 inches to the length to allow for folding and working.
- You’ll need nine pieces of foil cut.
Step #3: Prepare Hair Bleach
- Bleach is required for those who want to go from a dark to a light ombre. Preparing the hair bleach mixture is necessary.
- Grab a pair of disposable gloves and get to work.
- In a plastic bowl, combine the developer liquid and the activator powder.
- Hair developer is available in volumes of 20, 30, and 40.
- 20 volume – your hair will lighten by 1 to 2 levels.
- 30 volume – your hair will lighten by 3 to 4 levels.
- 40 volume – your hair will lighten up to 7 levels.
Step #4: Section Your Hairs
- To prevent tangles, brush your hair thoroughly.
- Then, section your hair, as usual, using a teaser comb.
- Section your hair in the way that the front has three parts on the left, three sections on the right, and three portions on the back.
- Keep them in place using hair clips.
Step #5: Bleach Time
- Identify the starting point of the ombre.
- If you’ve already achieved the desired level of lightness and want to darken the ends, use your hair dye instead of bleach for this step.
- Make sure to work on one part at a time. Placing a piece of aluminum foil under the portion makes it easier.
- Use a brush to paint the ombre from the bottom to the middle. Be sure to mix it well before using it.
- Be sure to see how it’s painted on since that’s what the result will look like.
- Comb your hair after that. While combing it, you will notice that comb has picked up a little bleach. To start the ombre effect, you will place it where you want it.
- Your goal is to gradually saturate your hair with bleach as you move down the hair section.
- Finally, soak the ends with a small amount of it using your fingertips. This will give you the strong bleaching at the ends of your hair that you desire, without damaging your hair.
Related Article: Natural Ways To Lighten Your Hair Without Bleach
Step #6: Finishing
- Fold the ends of the aluminum foil in once you’ve finished painting that area. Ensure that everything is safe and secure before proceeding.
- Make sure to do this for each of your nine hair sections.
- Bleach your hair according to the instructions on the package for the level of color lift you desire.
- Rinse with water and wash to remove bleach from your hair.
Congratulations you have learned how to ombre hair professionally. It’s easy, No?
How to Do Ombre Hair with Temporary Hair Dye

If you’re not quite ready to experiment with bleach, you may attempt ombré hair using temporary hair color. To create a gradient look, choose your preferred shade of Hair Color Spray or Temporary 1-Day Hair Color and use it from the mid-lengths to your ends.
And you can very much switch up your ombré look every day by washing it off with one shampoo.
Benefits of Ombre Hair Color
As now you know how to ombre hair with two methods, let’s find out the main advantages o ombre hair.
- Time: Time is a luxury for people with a never-ending list of things to accomplish. An ombré effect is a method to push out full balayage maintenance while still having a bit of root and dimension.
- Maintenance: For a low-maintenance individual, ombre is a fantastic method to use. Since it grows from dark to light, when the roots grow out, the sharp line will become less noticeable. Because of this, it is a great alternative for those who are just trying to experiment with lighter hair.
Related Article: Simple Tips To Hydrate Hair After Bleaching
How Long Does Ombre Hair Color Last?
We have learned what is ombre hair? how to ombre hair and benefits of ombre hair color, its time to learn about the lifespan of ombre hairs.
The color of ombré hair is often marketed as being low-maintenance, so you’re probably wondering how long it will stay that way. Ombré may last a long time depends on the type of highlights you begin with and your own choice for how many roots you like.
An individual may maintain a smooth ombré appearance for an extra four to six months, with the exception of one shorter and less expensive maintenance appointment in between.
Takeaway
The process of creating an ombre hairstyle isn’t as difficult as it may seem. As with most hairstyles, you’ll need a lot of practice to get the ideal balayage or ombre. And now you know how to ombre hair at home, just keep on practicing.

